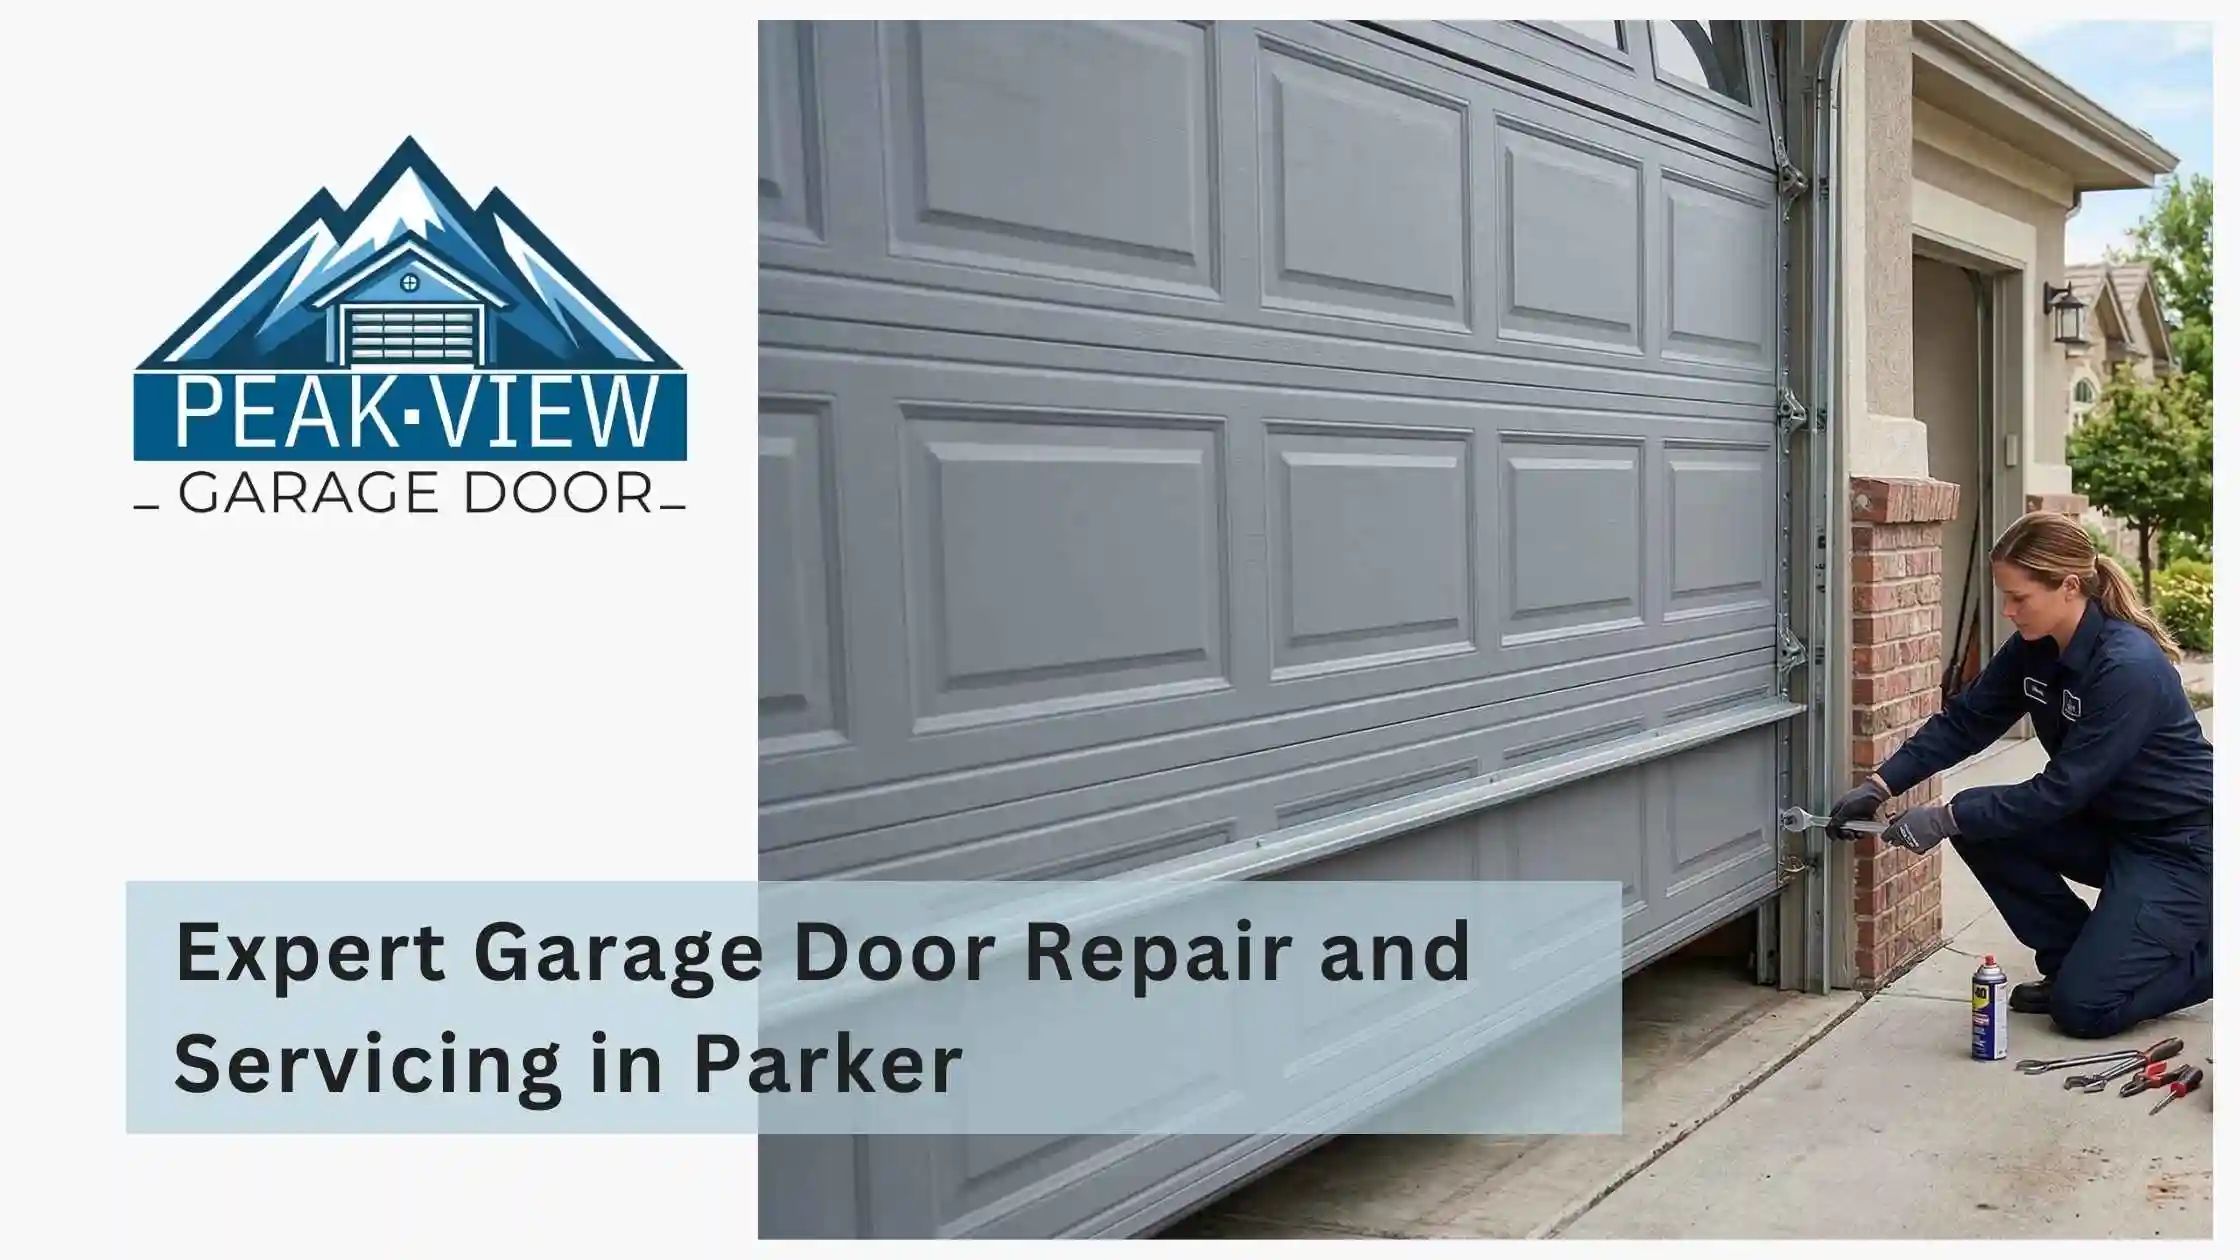
Garage doors play a crucial role in the safety and functionality of your home, but over time, the rollers that help the door move smoothly can wear out. Whether it’s because of frequent use or natural wear and tear, replacing garage door rollers is an essential maintenance task. This step-by-step guide will help you navigate the process of replacing garage door rollers safely and efficiently, ensuring your garage door operates smoothly once again.
Why Replace Garage Door Rollers?
Rollers are essential components of a garage door system. They enable the door to open and close smoothly along the tracks. Over time, they can become worn or damaged due to constant friction, exposure to the elements, or lack of maintenance. Signs that your garage door rollers need replacement include:
- Noisy door operation
- The door is hard to lift or operate
- Visible damage or cracks on the rollers
- Uneven movement of the door
Replacing rollers promptly can prevent further damage to the door system and improve the efficiency of your garage door.
Tools You Will Need:
Before beginning the roller replacement process, ensure you have the following tools:
- Replacement rollers
- Adjustable wrench or socket set
- Step ladder
- Pliers
- Screwdriver
- Safety glasses and gloves
- Lubricant (for new rollers)
- A sturdy work surface or board
Step 1: Disconnect the Garage Door Opener
Safety is always the top priority when working with garage doors. The first thing to do is disconnect the garage door opener from the door. To do this, pull the emergency release cord, which is typically a red rope hanging from the trolley carriage. This will allow you to manually operate the door during the replacement process.
Step 2: Open the Garage Door Partially
Once the opener is disconnected, open the garage door halfway and support it with locking pliers or a C-clamp. This will keep the door in place as you work on the rollers. Make sure the door is stable before proceeding.
Step 3: Locate the Rollers
Garage doors have rollers on both sides that run along the vertical and horizontal tracks. You should be able to see them clearly when the door is open halfway. Rollers are typically located in the top section of the door, at the point where the door curves along the tracks.
Step 4: Remove the Old Rollers
Using a screwdriver or wrench, remove the screws or bolts securing the roller brackets in place. Depending on your door model, you may need to remove the bolts on both sides of the door or just one side. Once the brackets are loose, carefully pull the rollers out of the tracks.
You may need to pry the rollers out of the track with a flathead screwdriver if they are stuck due to rust or debris. Be gentle to avoid damaging the track.
Step 5: Install the New Rollers
Now that the old rollers are removed, it’s time to install the new ones. First, lubricate the new rollers with a silicone-based lubricant to ensure smooth operation. Place the new rollers into the tracks and insert them into the roller brackets. Once in position, use your wrench or screwdriver to secure the brackets back in place, ensuring they are tightly fastened.
Make sure the rollers are aligned correctly in the tracks before tightening the bolts or screws completely. Misaligned rollers can cause the door to jam or function improperly.
Step 6: Check the Track Alignment
With the new rollers installed, it’s important to check the alignment of the tracks. If the tracks are bent or out of place, it can cause the rollers to wear unevenly or even get stuck. Use a level to check the vertical and horizontal alignment of the tracks, making sure they are straight. If necessary, gently adjust the tracks with a wrench to align them correctly.
Step 7: Test the Door Operation
After the rollers are installed and the tracks are aligned, manually operate the garage door to check its movement. Open and close the door several times to ensure that the rollers glide smoothly along the tracks without any resistance or noise. If the door operates smoothly, you’ve successfully replaced the rollers.
Step 8: Reconnect the Garage Door Opener
Once you’ve confirmed that the rollers are functioning correctly, reconnect the garage door opener to the door by pulling the emergency release cord back. Test the automatic operation of the door to ensure everything is functioning as expected.
Step 9: Lubricate and Maintain
To keep the new rollers in good working condition, it’s important to maintain them regularly. Lubricate the rollers and tracks every 6 months to ensure smooth movement. Regular maintenance can extend the life of your garage door system and reduce the need for frequent repairs.
Conclusion
Replacing garage door rollers is an important task that improves the overall function of your garage door. By following this step-by-step guide, you can replace your rollers safely and efficiently, ensuring that your door operates smoothly and quietly. Regular maintenance and timely roller replacement can prevent unnecessary damage to your door system and prolong its lifespan.