Whether you’re upgrading for curb appeal, replacing a malfunctioning system, or improving energy efficiency, a new garage door is a smart investment in your home. But if you’ve never had one installed before, you might be wondering what the process involves.
Understanding what to expect during a garage door installation can help you prepare your home, reduce stress, and ensure a smooth, safe upgrade.
Why Install a New Garage Door?
Garage doors take up a significant portion of your home’s exterior and are one of the first things people notice. Modern garage door systems offer:
- Improved security
- Greater energy efficiency
- Enhanced curb appeal
- Quieter, smoother operation
- Smart technology integration
Whether you’re replacing an old, noisy model or want a style refresh, knowing the steps in the installation process makes the experience more manageable.
1. Pre-Installation Preparation
Before the installation team arrives, there are a few things you can do to prepare:
- Clear the Garage Area: Move vehicles, tools, and belongings at least 8–10 feet away from the garage door wall.
- Ensure Proper Lighting: Adequate lighting helps technicians work efficiently.
- Secure Pets and Children: For safety reasons, keep them out of the area during the process.
- Confirm Product Details: Double-check that your chosen door type, style, color, and opener are correct.
Most reputable garage door companies will also inspect your opening, framing, and support structures in advance.
2. Removal of the Old Door
The first step during the installation is safely removing your old garage door.
The process typically includes:
- Disconnecting the door from the opener
- Removing door panels one by one (starting at the top)
- Dismantling tracks, brackets, and springs
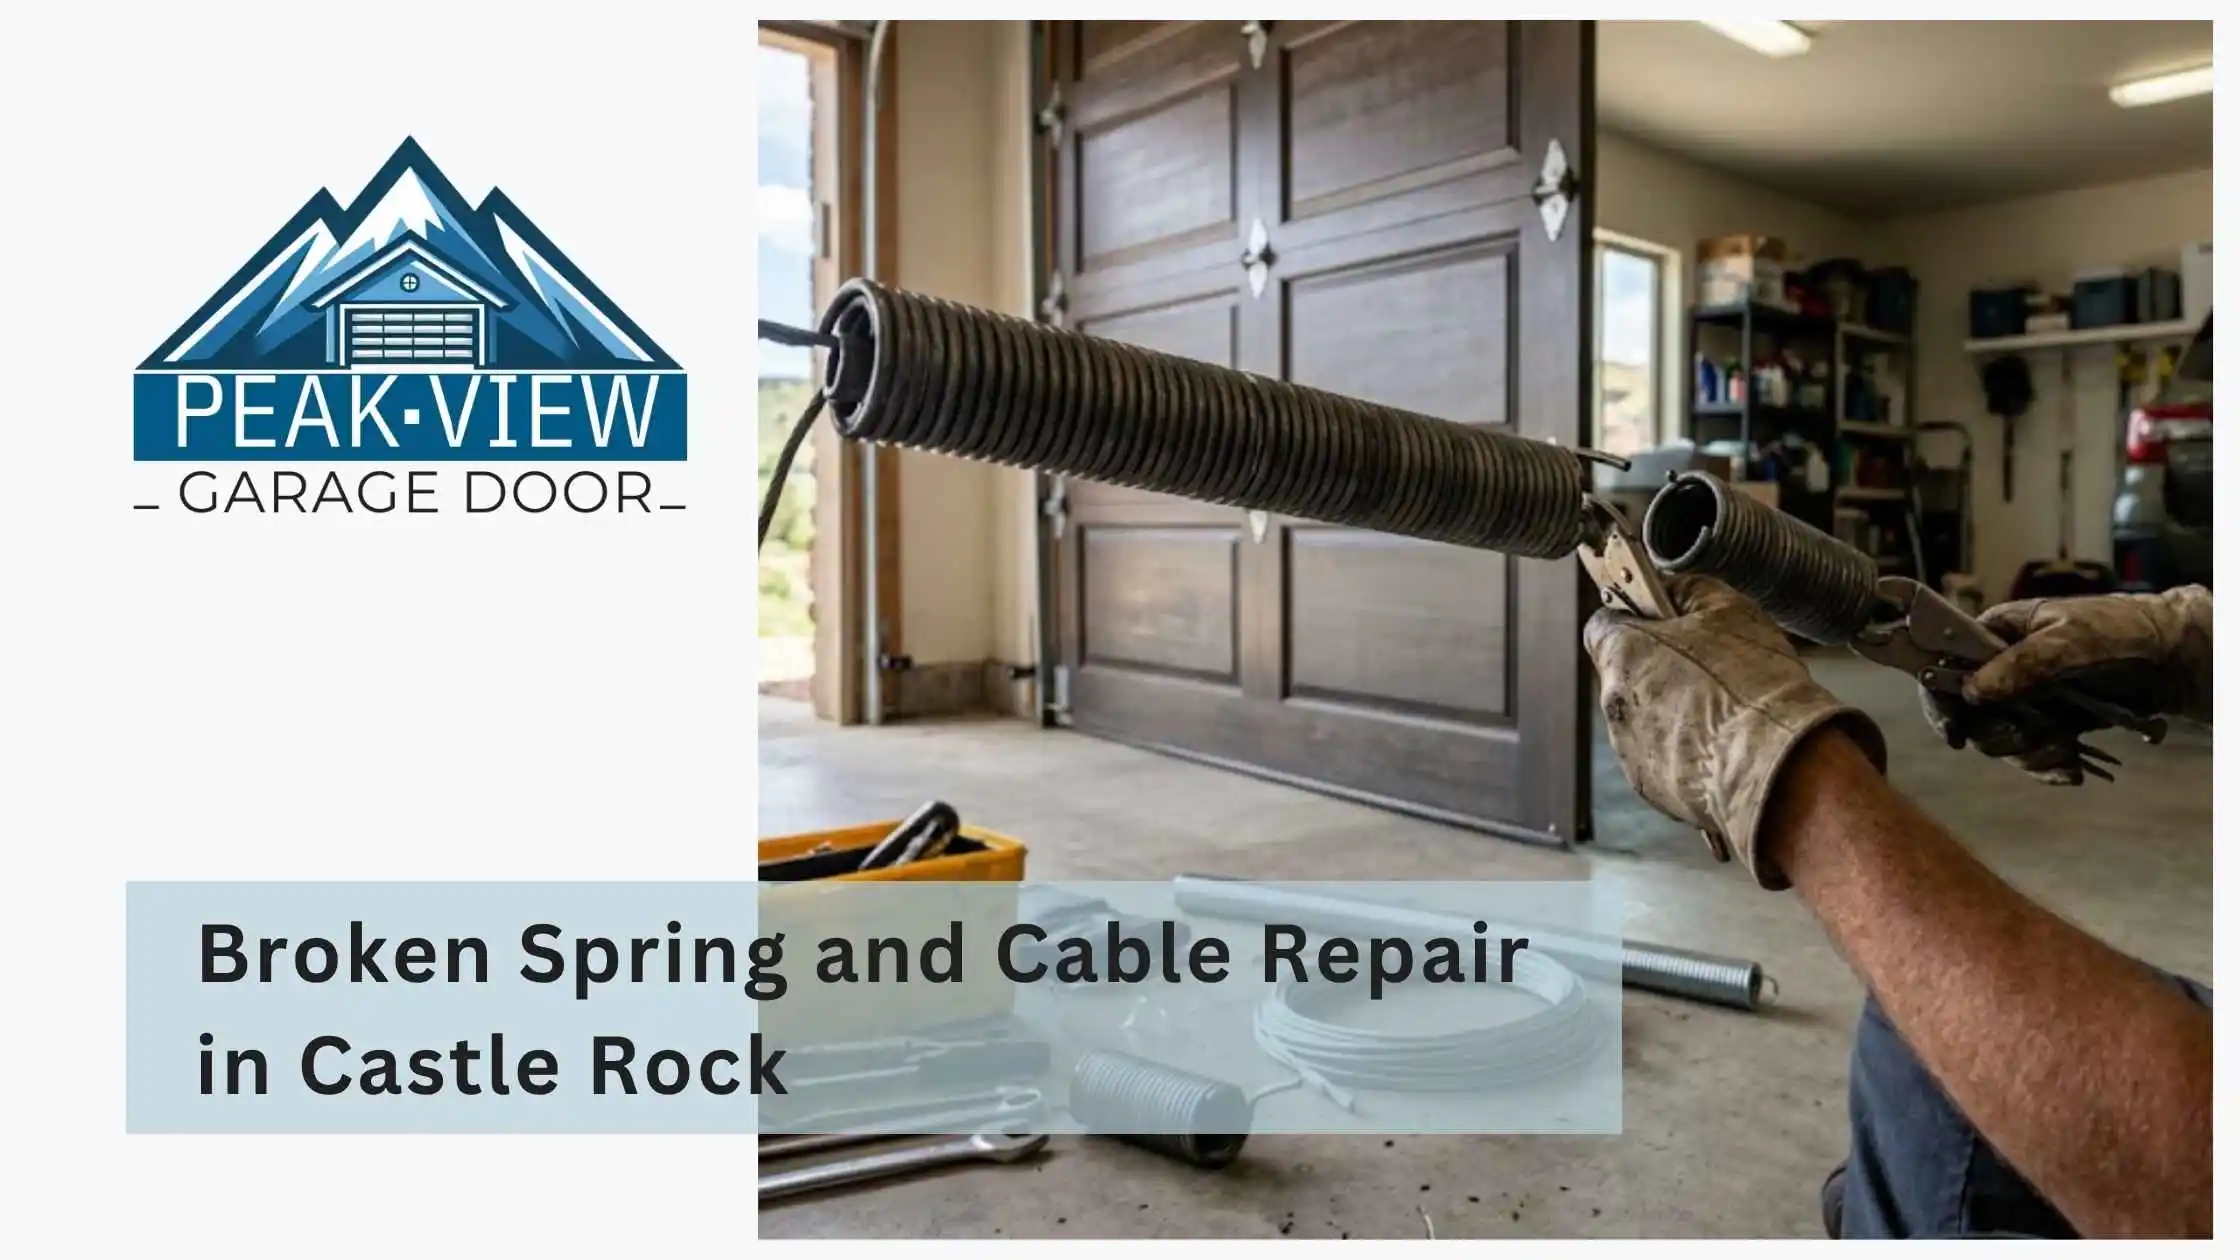
Important: Torsion springs are under high tension and can be dangerous. This is why professional installation is highly recommended.
3. Installation of Tracks and Hardware
Once the old door is removed, the installer will begin setting up the new tracks and mounting hardware.
This step includes:
- Securing vertical and horizontal tracks
- Mounting the brackets
- Installing necessary support framing (if required)
- Aligning everything to ensure smooth operation
Proper alignment at this stage is critical to avoid future operational issues or uneven wear.
4. Installing the New Garage Door Panels
Next comes the installation of the actual door panels.
- Panels are stacked from the bottom up
- Rollers are inserted into hinges on each side
- Tracks are adjusted to guide the panels smoothly
If you’ve chosen an insulated or heavy-duty door, your panels may be reinforced with steel bars or weather-sealing elements.
5. Installing the Springs and Cables
One of the most complex parts of the process is installing the torsion or extension springs and safety cables.
These components:
- Balance the weight of the door
- Assist with smooth lifting
- Must be precisely calibrated for safety and function
This step is not DIY-friendly; it requires experience and proper tools to avoid serious injury.
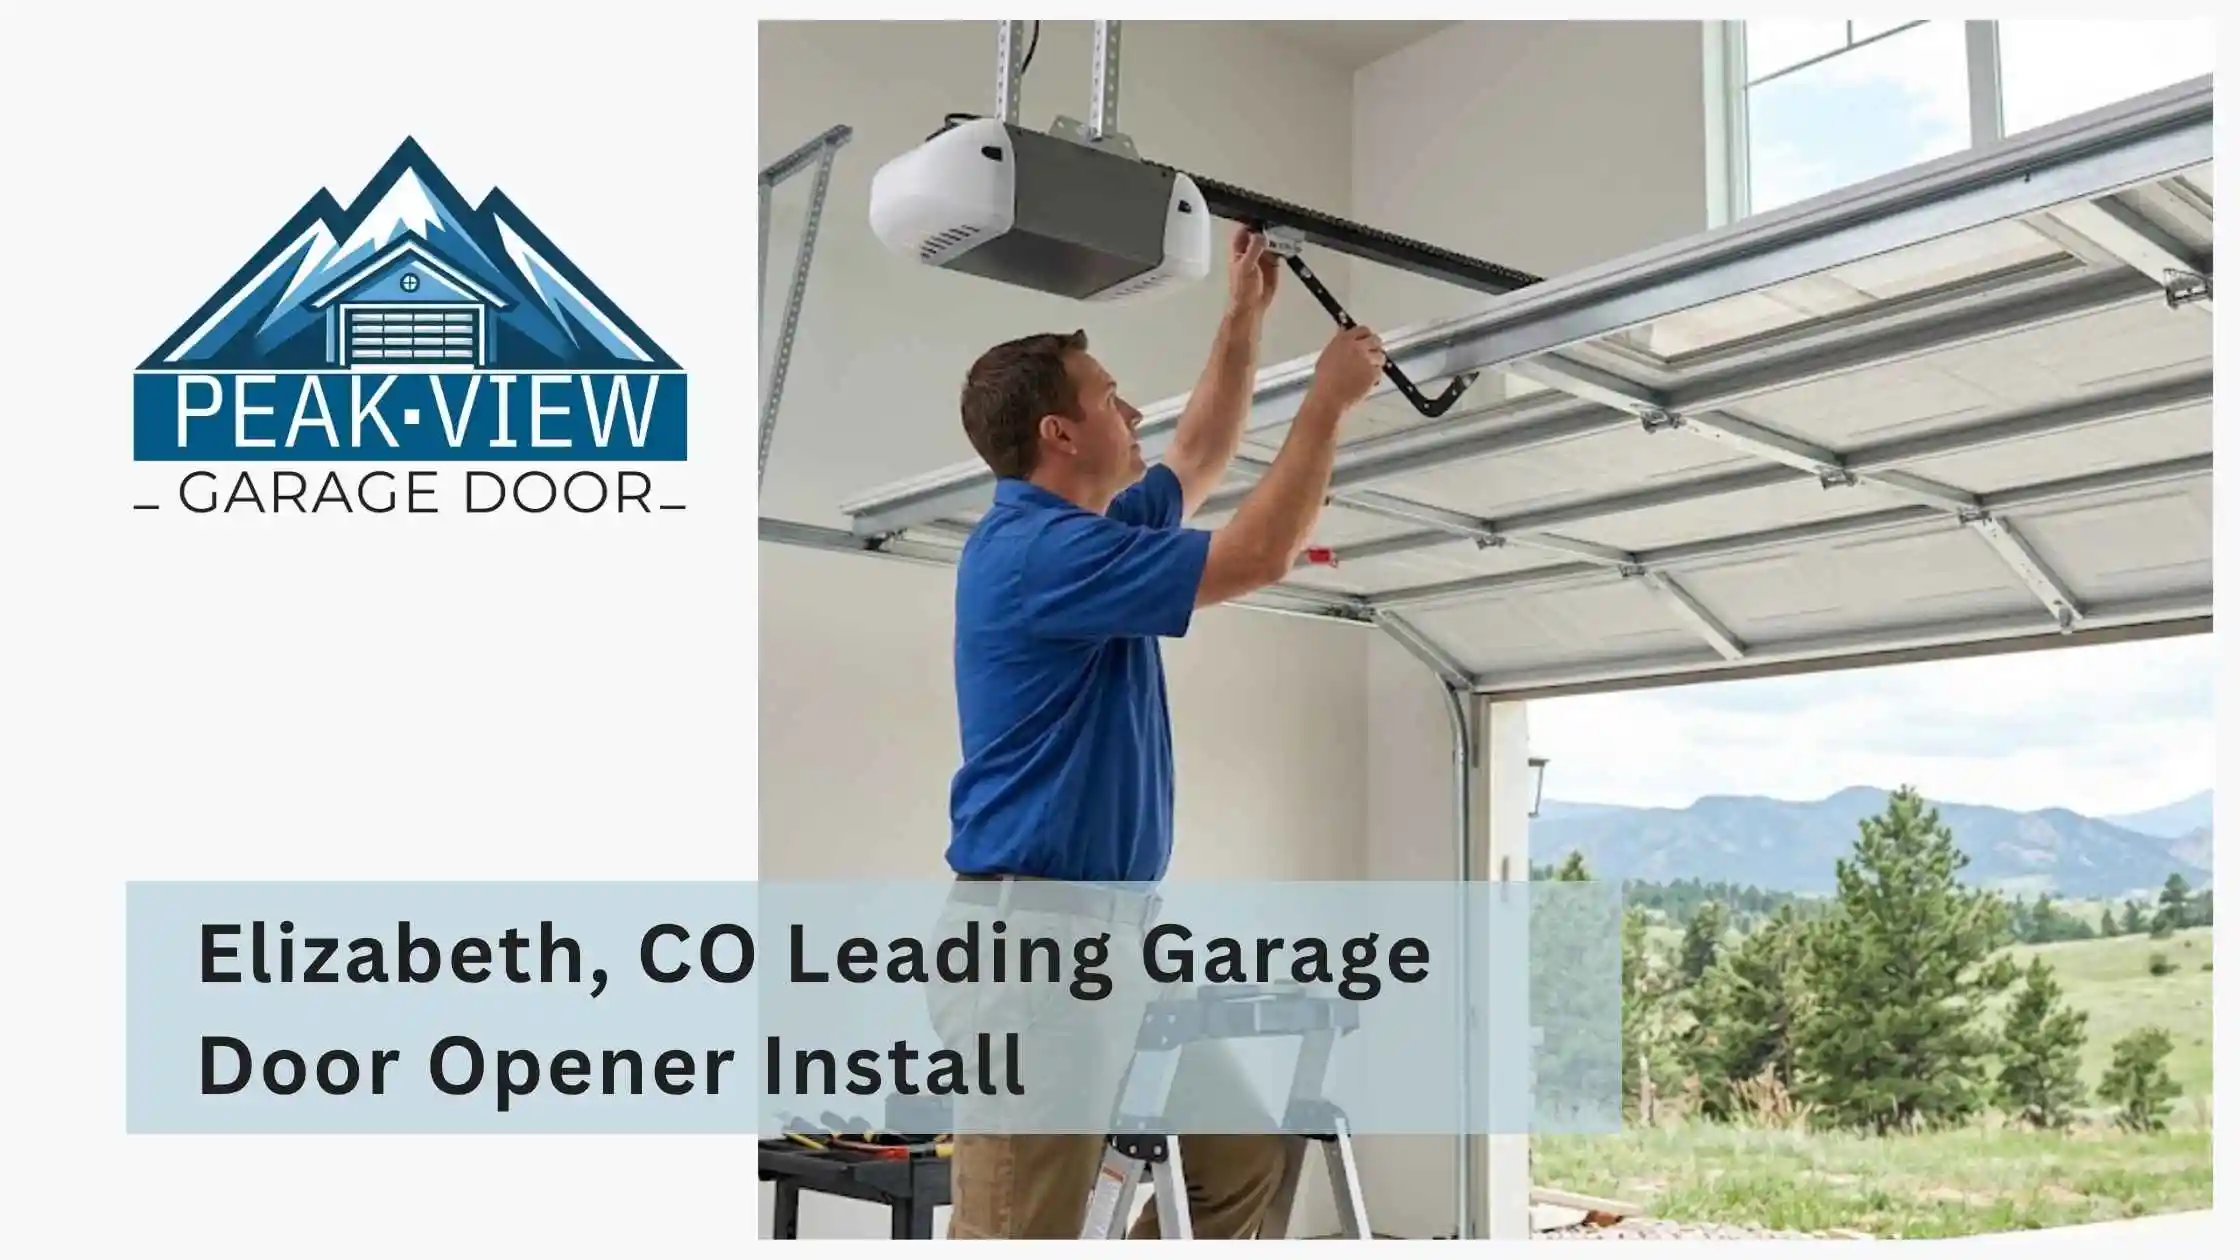
6. Attaching the Garage Door Opener (if included)
If you’re upgrading or adding a garage door opener, the technician will install the:
- Motor unit
- Chain or belt system
- Wall control unit
- Sensors for safety reversal
- Remote control setup and syncing
Smart garage door openers may also require connecting to Wi-Fi and downloading an app for remote access and alerts.
7. Final Testing and Inspection
After all hardware is installed, the technician will:
- Test the door’s balance and movement
- Ensure the opener responds properly
- Check the weather sealing and fit
- Adjust spring tension if needed
- Inspect safety sensors and auto-reverse functionality
They’ll walk you through how to operate your new system and answer any questions.
8. Clean-Up and Aftercare Tips
Professional installers will remove old parts and clean up the workspace. Before they leave:
- Ask about warranty coverage for parts and labor
- Inquire about recommended maintenance
- Request manufacturer documents and user manuals
To keep your new door working well, schedule annual inspections and lubricate moving parts every 6 months.
How Long Does Garage Door Installation Take?
On average, a standard garage door installation takes 3–6 hours, depending on:
- Door size and type
- Existing opener compatibility
- Condition of framing or supports
- Whether electrical work is needed
A custom or insulated garage door with opener installation may take a bit longer.
Final Thoughts
Installing a new garage door is a great way to upgrade both the look and function of your home. By knowing what to expect, from removal to final testing, you’ll feel confident and prepared throughout the process.
Hiring a certified, professional installer ensures your new system is safe, efficient, and built to last. Whether you’re going for modern, carriage-style, or classic design, a well-installed garage door adds convenience, security, and serious curb appeal. Contact us today!